Introduction to Next.js: How to Create a Next.js Project?

Developing web applications with:
Next.js · TypeScript · JavaScript · React.js · Vue.js · Nuxt.js · Tailwind · Node.js · Nest.js · Prisma · GraphQL · REST API · PostgreSQL · MySQL · MongoDB
In this article, you'll find out how to install Next.js boilerplate with Typescript in 2023. We'll create nextjs project together including Prettier, ESLint, Husky, Lint-Staged etc.
If you do not have Node.js and npm installed on your computer yet, you can install them here. Later on, you can check them via these commands to see if they're installed to start creating new Next.js + Tailwind CSS project.
node -v
npm -v
To create a next.js project, you can use this command in CLI.
npx create-next-app app-name
You can replace 'app-name' with the new project name.
You'll see some questions about Typescript, whether you want a src/ folder and then app/ folder. Just answer according to your need. I generally select Typescript - Yes, src/ - Yes, app/ - No.
Your Next.js app is ready. You can start it via this command:
cd app-name
npm run dev
You'll see it localhost:3000 if your 3000 port is empty and unused. If it is not, Next.js will try to use another empty port like 3001, 3002 etc. Next.js port is 3000 for default.
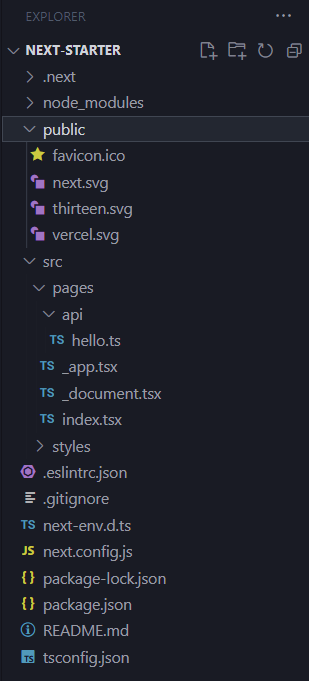
You can view this Github repo to see a Next.js boilerplate project including:
Next.js
TypeScript
Tailwind CSS
ESLint
Prettier
Husky
Lint-Staged
Jest
Testing Library
Cypress
Commitlint
VSCode
Netlify
PostCSS